Showing posts with label Craft. Show all posts

7.15.2013

Cloth Life

Last week my mom cleaned out her linen closet and had this pile of old sheets:


The benefit of old sheets is they are really soft from lots of washing & drying which means they make wonderful wipes & liners to use with cloth diapers! Since my friend, Bekah, and I made these little dolls for our LO's I've really been wanting to use my machine more and wipes/liners is a great beginner project!


Just cut out squares {for wipes} & rectangles {for liners} and sew, sew, sew! I got 3 liners & 6 wipes out of just 1 pillowcase!

The benefit of cloth liners is that when you're expecting your LO to go #2 you can put in a liner & "save" your diaper. Less staining means prettier diapers and greater resale value!


Speaking of pretty diapers check out this adorable new Charlie Banana I just got from Target!


 I used my Red Card & that made this diaper around $15 which is about a $5 savings from ordering from CB's site plus no shipping & no waiting anxiously for a new dipe to arrive! Yes, CD mamas wait anxiously for new dipes! Ha!

Another new diaper I'm LOVING right now is our Imagine fitted! It is a wonderful overnight diaper & the only cloth diaper we've ever used overnight that didn't leak! The cover is large enough to actually cover the whole fitted! I attempted to get a picture of Anderson in it but he had The Sillies & this is the best I could do:


Some great news about Imagine diapers is that you'll be able to find them IN A STORE soon! This is huge since most CD's are only available online {hence the anxious waiting}. 

My friend, Kristy, is opening a fabulous children's consignment store that will have all sorts of wonderful clothes, toys and baby gear PLUS Imagine CD's PLUS essential oils PLUS amber teething necklaces & anklets! It's pretty much going to be FAB!

And speaking of The Store...she wanted some pictures of our playgroup in their cloth diapers for the store. Most of y'all have probably seen the pictures on Facebook or Instagram but here they are again!

This series of pictures makes me literally Laugh Out Loud:

"Ready, Set the babies"...

"And RUN!!!"...

"And laugh at how they sat there for .72945 seconds"...

But despite 8 splashing, crying, walking, wiggly toddlers Kristy managed to get this:
{L-R: Anderson, Annalise, Emma Kate, Isla, Thomas, Selah, Ava, Anna Beth}

Which was worth all the {literal} sweat & tears!

If you want more info on Cloth Diapering check out my friend Ilia's 3-part blog series! She's awesome!


1.18.2013

No Sew Quiet Book

I've decided to "Blanket Train' Anderson. Some of you may already know what this is. I first read about blanket training from the Duggar's first book. It sounded like a really interesting concept so I took it on.

I have to admit I haven't been as consistent as I've wanted to be, but even so he is doing great with it! The idea is to have a certain blanket that they sit on & play quietly on. No getting up, no running around. It teaches self-control, discipline and contentedness as they get 1 quiet toy to play with. 

I love all of these quiet books I've seen floating around Pinterest but I don't have sewing skills (yet!) BUT I do have lots of random, leftover craft supplies so I decided I would just make my own quiet book for him with the supplies and skills that I do have!

He has enjoyed playing with it & I had fun making it! I had some felt sheets leftover from a Christmas craft that I ended up not even using. I cut the felt into "pages" & added to them from there.

I used 2 different colors of felt for the first "page". I added these beads on a piece of yarn & triple-knotted it then hot-glued it on. This is one of his favorite ones to play with!


 For this page I just hot-glued some different ribbon tags on. I also cut the corners off the felt to add some interest. Too. Easy.


On the blue page I hot glued these wooden tools (leftover from one of his nursery projects). They're so cute!


On the next page I cut some fringe to add some interest. I then painted these craft sticks & hot glued these colored stars on. Seriously, a monkey could have made this thing and he really likes it!


The last page is another piece of red felt with some paint pen polka dots all over it. I didn't think you'd need a visual for that ;-)

To finish it all off, I used a single-hole punch in the corner of every page and tied them all together with scrap ribbon.


DONE.

12.05.2012

Come On In!

It's Christmas time!

Of course last year was special with a Little One on the way but I'm so, so excited about this year!

He gets presents & we'll start our own little family of 3 traditions.

Our first tradition is decking the halls!


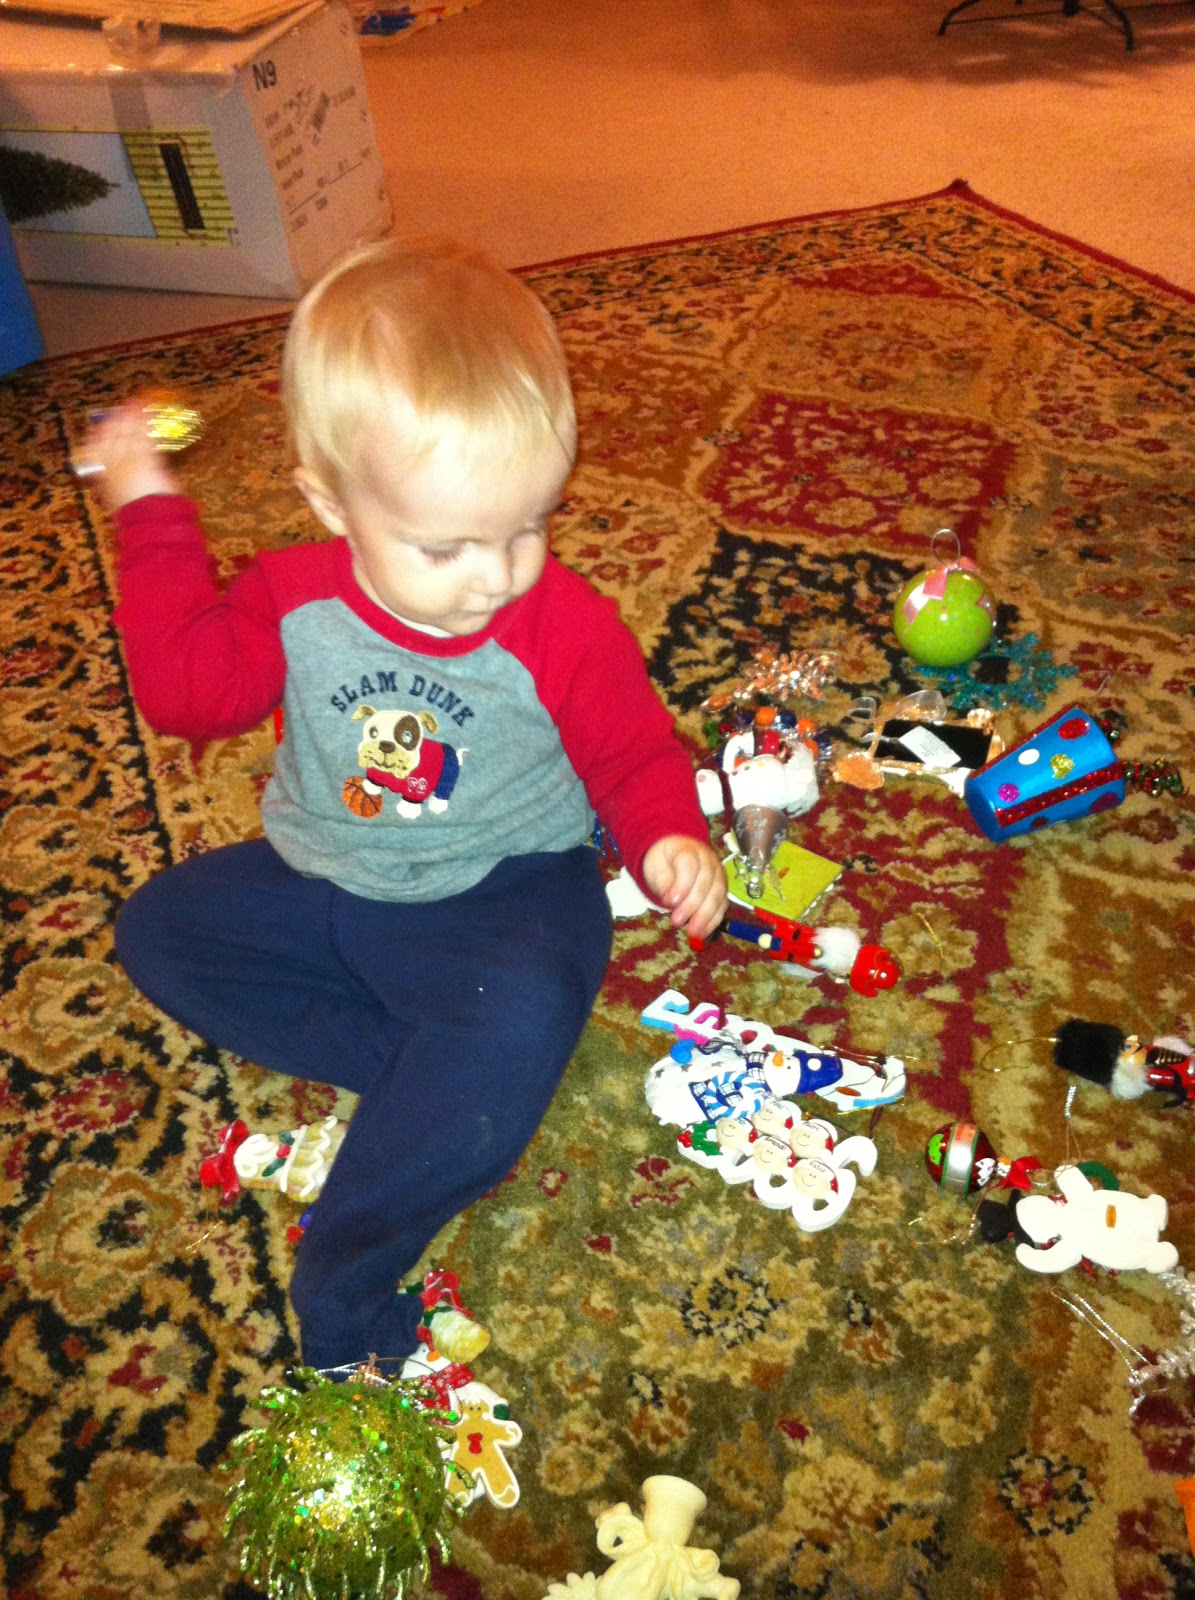
Hey, what's in here?


 These things are awesome! 
(He gave each ornament a hearty shake & a toss over his shoulder...I guess that means he approves.)


I then gave him my iPhone in an attempt to keep my ornaments in tact. This was a result.


He then found the cranberries and decided those were the most fun for wrapping oneself in.


But wonders of Christmas wonders was throwing paper everywhere! PAPER!!!

What you don't want me to do this?


So after Anderson wore himself out wrecking decking the halls we put him to bed & had a post-Thanksgiving feast before we got serious about decorating!


I just bought this ornament to represent last year & I love it! It's so perfect since he was our little Christmas gift!


This is our newest ornament for this year! I love collecting these!


The next morning he was quite curious about the little men hanging from the bottom of the tree. It's so cute to watch him play near the tree.


This year he got all new ornaments for his tree! I love it so much I'm using it at his birthday party (in just 2 short weeks!)


Here's our front door! I love the lighted garland!


Send me your Christmas cards! I've got a pinspired clothes pin wreath to hang them on!


And here is our  Christmas tree with the wonderful large-colored lights! Last night we just sat with only the tree & garland lit & listened to Christmas music on the radio. It was so peaceful!


And lastly here is our Christmas ribbon wreath! I did silver & gold so that I could keep it up through the New Year ;-) I love making these; they're super easy & satisfy my crafty desires without me getting in over my head!


LINK UP IN THE COMMENTS SECTION WITH YOUR
POSTS ABOUT CHRISTMAS DECORATIONS!

5.03.2012

Crazy Yarn Lady

My brother, Stephen, was cleaning his room last week and found this wooden picture frame. He made it at school but had never used it for anything. He knows my love for mod podge & asked if I wanted it to mod podge or do whatever with.


Of course!


But since I LOVE wrapping things in yarn I decided why not wrap this too?


Then I had some leftover buttons from the curtains I decorated for the nursery and I found the little wooden ducky at Hobby Lobby. It was too big to go on the frame & since I didn't want to put an actual picture in the frame (there's no glass) I decided to just make it a piece of Ducky Artwork!


3.28.2012

Yarn Wreaths

I love a yarn wreath! I made my first one this Christmas as a wait-on-this-baby-to-be-born project & then I made one for spring! They're so easy & fun & the best part, cheap!


12.14.2010

Be Proud, Stand up those Cakes!

So, please forgive my lack of blogging. Currently my life is being consumed by exams! aaaahhhh!!! NO! Not...EXAMS!!!
So, as you can see I am currently delirious.

Not really, they haven't really been so awful. Just the usual time-consuming, stress-inducing exams but I'm optimistic no permanent damage will be done.
So, I have a new craft to share. I must admit though, that once again I stole the idea...but hey, isn't that what good ideas are for? Stealing...umm, I mean borrowing?...Well, either way.

I got the idea from here.

It's a non-traditional cake stand! What fun!

Seriously, it's fun. 

All you have to do is:

1. Find a plate that you like (you can even paint one to use. Hint: World Market has plain white plates for $2-3!)

2. Find something that you like to use as the base. It can literally be anything. You'll see...

3. Use a strong adhesive (Hint: Steel Epoxy is cheap and VERY effective. Additional Hint: It's a little messy)

4. Bake something yummy to put on your new cakestand!

I preferred to use a mason jar that I bought at Hobby Lobby (duh!) that I filled with some pretty, clear beads:

After I attached the plate I baked some yummy chocolate chip pumpkin mini muffins to put on it for my Christmas party:


Here's a pic of the food table with other plates that are not permanently attached to mason jars (I forgot to take the pic pre-party so it's mid-party & as you'll see, some cookies have already been snagged =)


Now, go be creative & make your own!

10.18.2010

Beer Bottle Craft!

That's right ladies, this is a craft your hubby will be happy to help you with =)

Step One:
Buy New Castle Beer


Step Two (the part hubby will want to help with):
Drink the beer, enjoy it & then rinse the bottle & peel the label!

(I just peeled as much as I could and then ran it under hot water & used a scrub brush to get the rest off)


Step Three:
Decorate!
I can't exactly remember why but back in the spring I was on a jewelry-making kick. It was a short kick that lasted less than 24 hours, if I remember correctly.

In other words, jewelry-making is not my forte.

I was reading crafty blogs this morning and saw one where a woman used old glass jars. But she attached a bobby pin to it and it was cute but not exactly what I wanted to do. I didn't know what I wanted to do with my bottles.

(Last night was sushi, beer & Friends on dvd night)

I decided to pull out a lot of my crafting stuff in hopes of inspiration coming to me. I also put on my favorite "inspirational" music (Amy Grant's "Hymns for the Journey") and got to crafting!

Back to my earlier point about how I can't make jewelry; well, I had purchased some beads and stretchy string and whatnot in hopes of making something beautiful. Little did I realize it would turn out beautiful just not in the form I had originally imagined!

I took some of the black stretchy string, string some beads on at random intervals and used a glue stick to fasten the beads to the bottle. I just continued this process until I decided it looked finished.

Here's a pic:

I'm not quite sure what I'll use this bottle for although I probably will use it on our porch somehow. I might use some wire and add it to my wind chime collection...I'll let ya know what I do.

I still had another bottle but didn't want to do the same thing even though I liked the final product.
I had a black tank top that has gotten too small so I cut off the black, lace straps and tied it around the bottle. I have a really pretty pendant from my beads & jewels collection so I just looped it in with the lace and voila!

The best part is, I didn't use any adhesive so if I get tired of it I can just take it apart and use all of the pieces for another project!

I added a flower for the final touch & decided that for now it belongs on my coffee table!

Take a look:


9.29.2010

Recipe Box

I'm not sure if you remember my last attempt at "creating" my own recipe box but it was a flop to say the least. Well, I have mustered up the courage to try again. This time I would call it a success!

This recipe box is not perfect but it is functional unlike the other one.

I started by going to Hobby Lobby, one of my favorite stores, actually it's probably my second favorite, only to Publix. Anyways, I went to HL looking for something that could be used as a recipe box that I could decorate. I look online at etsy.com and some other sites for inspiration but was disappointed to find no inspiration whatsoever...

I found this plain cardboard box and decided that it would be the prefect canvas for decorating!


Of course this was another perfect opportunity for me to use my all-time favorite craft supply--MOD PODGE!
I modged podged some pretty scrapbook paper that I found, also at HL, around the body of the box and to the top of the box.

I also found some really cute scrapbook paper that had baking tools all over it! I cut out the individual "tools" and modged podged those onto the flower print! I also added some fun and sparkly baking stickers all over the top!

I decided to write out my recipes on notecards as they fit perfectly into the box! This is an ongoing task...


Here's a picture of the final product!

I'll share a recipe from my box: Chocolate Chip Pumpkin Bread

Ingredients

  • 3 cups canned pumpkin puree
  • 1 1/2 cups vegetable oil
  • 4 cups white sugar
  • 6 eggs
  • 4 3/4 cups all-purpose flour
  • 1 1/2 teaspoons baking powder
  • 1 1/2 teaspoons baking soda
  • 1 1/2 teaspoons salt
  • 1 1/2 teaspoons ground cinnamon
  • 1 1/2 teaspoons ground nutmeg
  • 1 1/2 teaspoons ground cloves

Directions

  1. Preheat the oven to 350 degrees F (175 degrees C). Grease and flour two 9x5 inch loaf pans.
  2. In a large bowl, mix together the pumpkin, oil, sugar, and eggs. Combine the flour, baking powder, baking soda, salt, cinnamon, nutmeg, and cloves; stir into the pumpkin mixture until well blended. Divide the batter evenly between the prepared pans.
  3. Bake in preheated oven for 1 hour to 1 1/2 hours. The top of the loaf should spring back when lightly pressed. 
  4. There should be enough batter left over to bake at least 6 muffins too!